FAQ
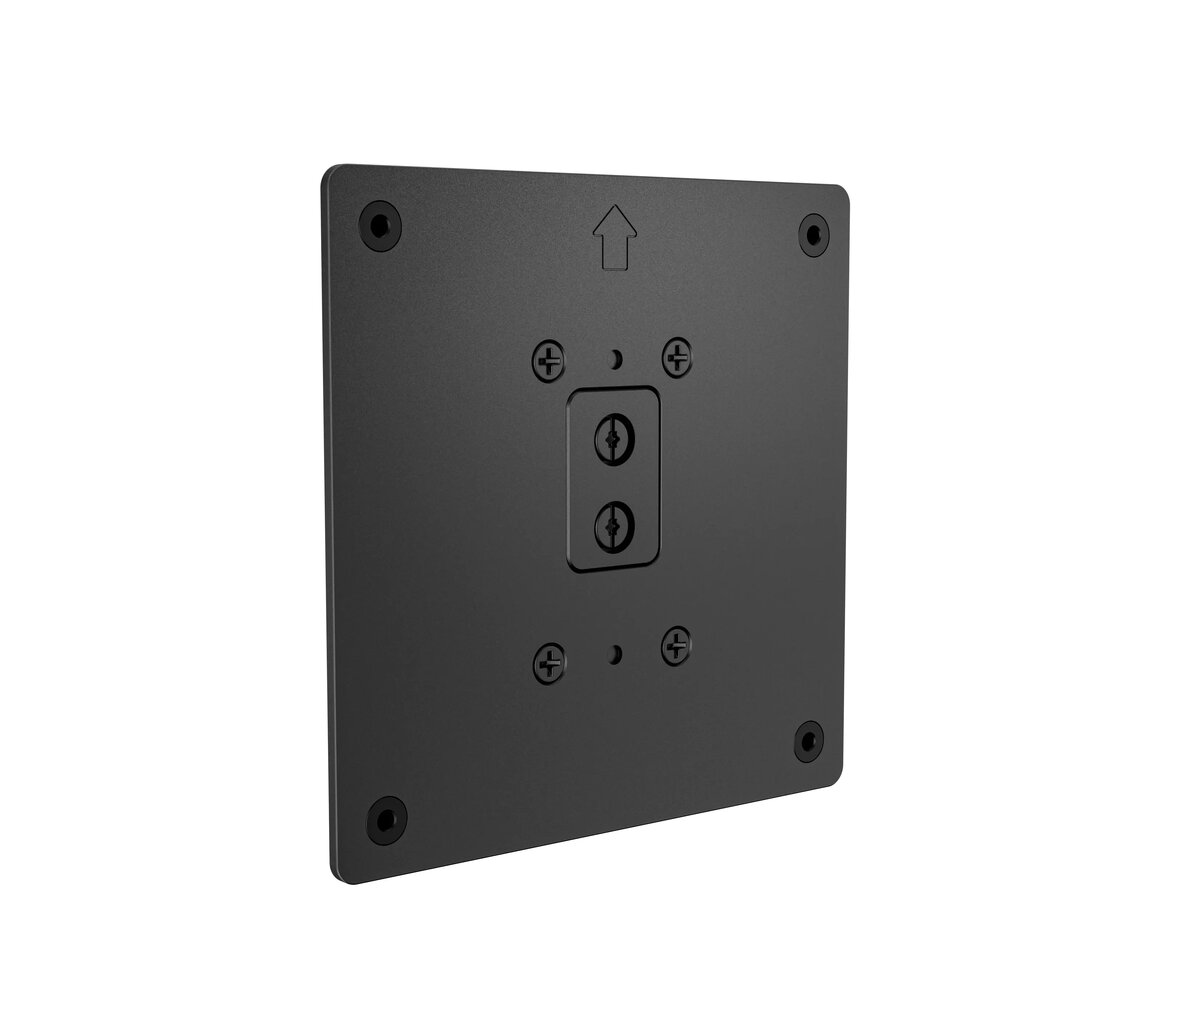
How much does the VESA Plate HP Enterprise G1i AiO VESA Plate cost, and is it available for purchase?
The price is 36.49 € (valid at the time of publication and already includes all taxes). The item is available for order — 25 pcs. are in stock, and you can place your purchase right now with delivery across Latvia and Europe or choose pickup at the Riga collection point. We offer favorable purchase terms, including the option to split the payment into convenient monthly installments. Availability and price are updated in real time, so we recommend placing your order in advance.
If I order this product today, when will I receive my order?
If you place your order today, delivery will be as fast and convenient as possible. You will be able to pick up your order on 13.08.2026 at the Riga pickup point or choose delivery across Latvia and Europe. We carefully inspect every purchase and pack it securely for safe transportation.
What payment options are available?
AiO.lv offers several payment methods: Bank transfer. All transactions are 100% secure and encrypted.
Can this product be purchased for a company (with VAT)?
Yes. AiO.lv works with legal entities in Latvia and across Europe. The product price already includes VAT. For certain product categories, as well as for companies from other EU countries with a valid VAT number, a 0% VAT rate may apply. We issue the invoice immediately after the order is placed, support electronic BIS invoices, and automatically generate all necessary accounting documents. You can complete the purchase for a company online — simply select the company profile and choose bank transfer as the payment method during checkout.
What is the warranty period?
All HP Enterprise products come with an official 2 Years warranty. It covers all manufacturing defects and malfunctions that may occur during use. The warranty is valid at all authorized HP Enterprise service centers and through AiO.lv
Can the product be returned after purchase?
Yes, you can return the product within 14 days of purchase if you bought it as a consumer (not a legal entity). Returns are possible without giving any reason — the main condition is that the product retains its original appearance and full set of accessories. We will make the process as simple and convenient as possible: just contact our customer support team, and we will help you arrange the return.
Where should I contact for warranty service?
For warranty-related questions you can contact the AiO.lv (SIA VSPRO) customer support team. We will assist with consultation, warranty claim processing, and coordination with certified service centers.