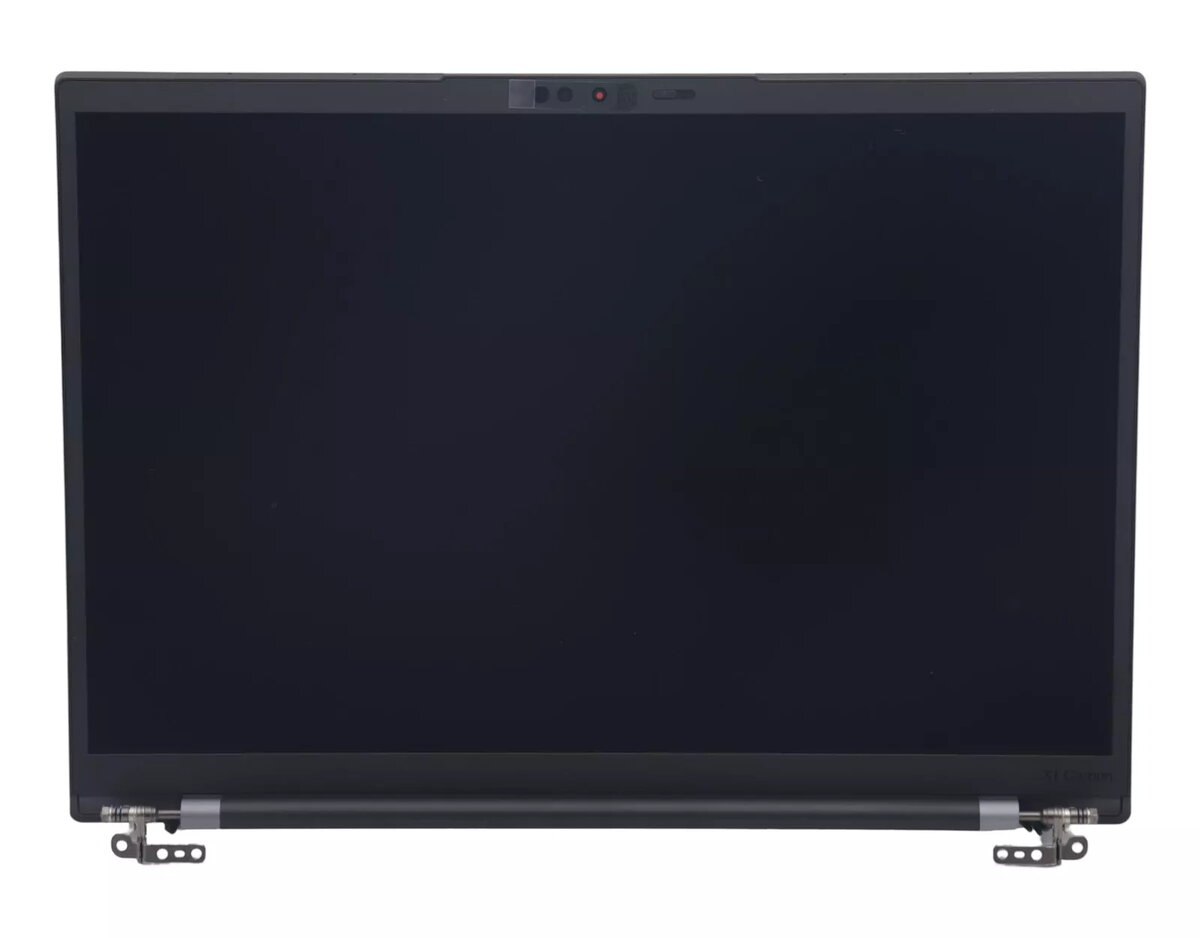
Replacement display panel Lenovo 5M11H45720 is a 14" (35.6 cm) WQXGA+ screen designed as a direct spare part for ThinkPad X1 Carbon 10th Gen (Type 21CB, 21CC). This panel restores the laptop's original resolution and image quality, matching form factor and mounting points to ensure compatibility with the intended models. The module is intended for repair or upgrade of the built-in display, supporting work, multimedia playback and mobile productivity with a high-resolution LCD suitable for detailed text and graphics.
Advantages
The panel offers a high pixel density WQXGA+ resolution that improves clarity for text, spreadsheets and graphic work compared with lower-resolution options. It is manufactured to fit the X1 Carbon 10th Gen mechanical assembly and uses the same connector placement and mounting holes as the original, simplifying replacement without major chassis modification. Using a direct-fit spare part helps retain factory display characteristics such as color balance and viewing angles when matched with the laptop's original display controller.
Suitable for
- Repairing a damaged or cracked screen on ThinkPad X1 Carbon 10th Gen (Type 21CB, 21CC)
- Restoring original resolution and image quality after display failure
- Upgrading from a lower-resolution panel to WQXGA+ for improved detail
- Service technicians and authorized repair centers performing component-level replacements
When it may not be suitable
This replacement panel is intended specifically for the ThinkPad X1 Carbon 10th Gen (Type 21CB, 21CC). It may not be compatible with other laptop models, different X1 Carbon revisions, or chassis variants that use alternate display sizes, connector types or mounting arrangements. If your device uses a different display interface or bezel configuration, this panel will not fit without modification.
Key specifications
- Screen size: 14" (35.6 cm)
- Native resolution: WQXGA+ (high pixel density for detailed imagery)
- Panel type: Thin LCD module compatible with original mechanical assembly
- Intended fit: Designed for ThinkPad X1 Carbon 10th Gen Type 21CB / 21CC
- Mounting: OEM-style mounting points and connector placement
How to use
Install the panel by powering off the laptop, disconnecting the battery, and following standard disassembly procedures for the X1 Carbon 10th Gen display assembly. Remove the damaged screen and detach the display cable from the controller board, then fit the replacement panel into the bezel aligning the mounting holes and secure it with the original screws. Reconnect the display cable and battery, then power on the system and verify correct image output, resolution settings and backlight operation. If unsure, have a trained technician perform the replacement to avoid damage to connectors or cables.
What to consider before purchase
- Verify your laptop model and type designation (ThinkPad X1 Carbon 10th Gen Type 21CB / 21CC) to ensure compatibility
- Confirm that the existing display uses the same size and connector type to avoid fitment issues
- Check whether your device requires additional parts (cables, brackets or bezel clips) that may not be included
- Consider professional installation if you lack experience with laptop disassembly
Usage recommendations
Handle the panel on a clean, static-free surface, avoid touching the display surface and connector pins, and use appropriate ESD precautions. After installation, calibrate display settings in the operating system for optimal color and brightness balance. If backlight flicker or abnormal artifacts appear, recheck cable seating and grounding before returning the laptop to service.