
Hurry and order now – up to 50% off!
In cart {{totalProductsCount}} item(s)
Your cart is empty
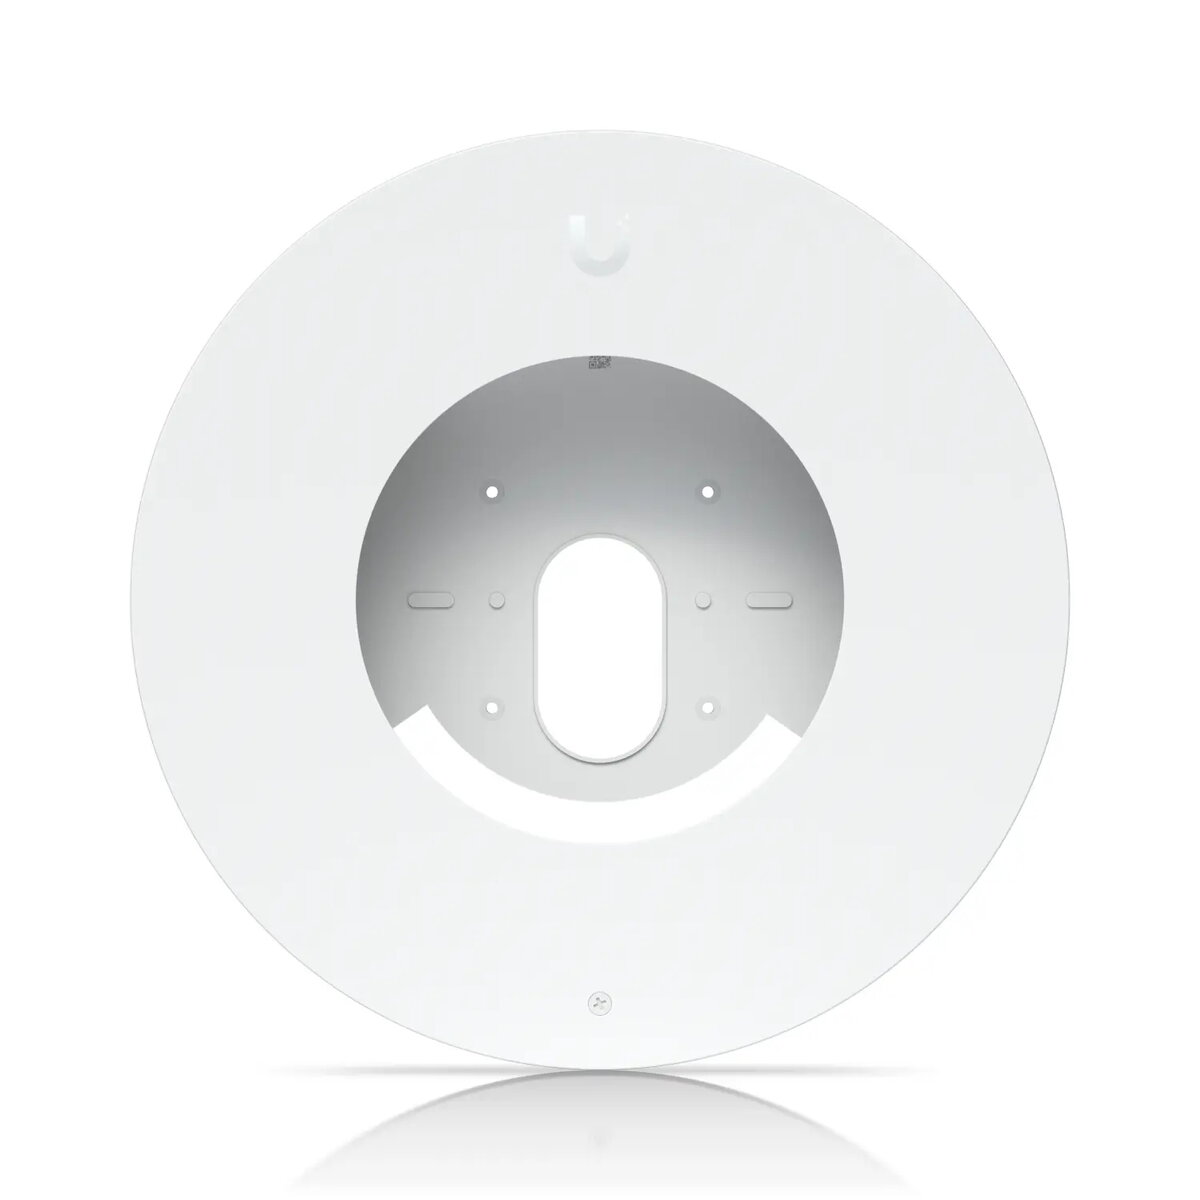
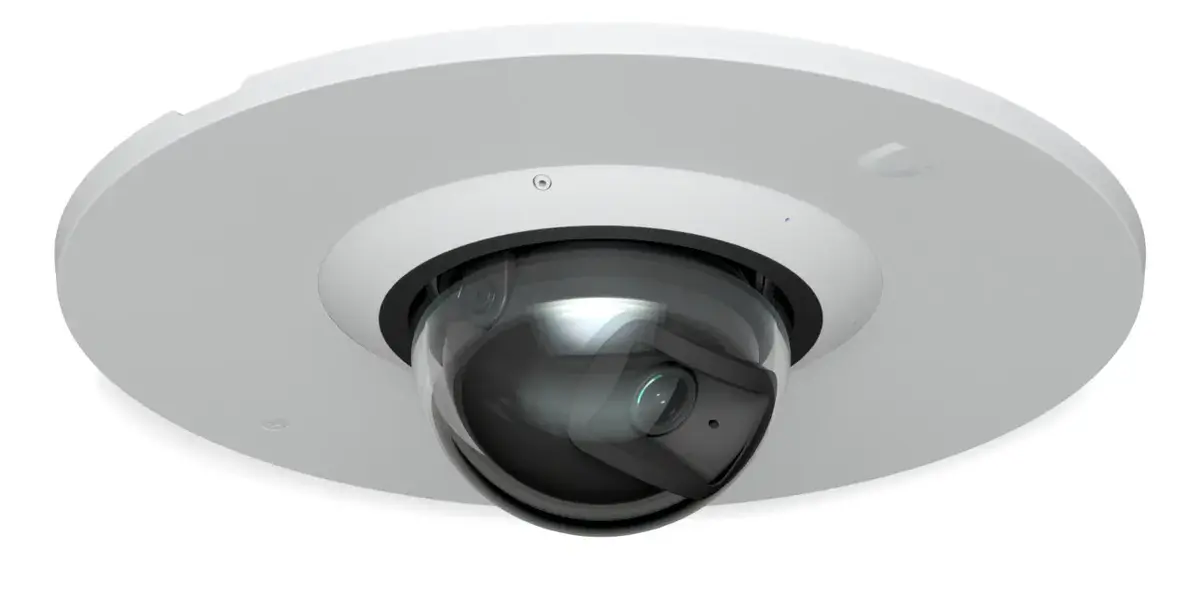
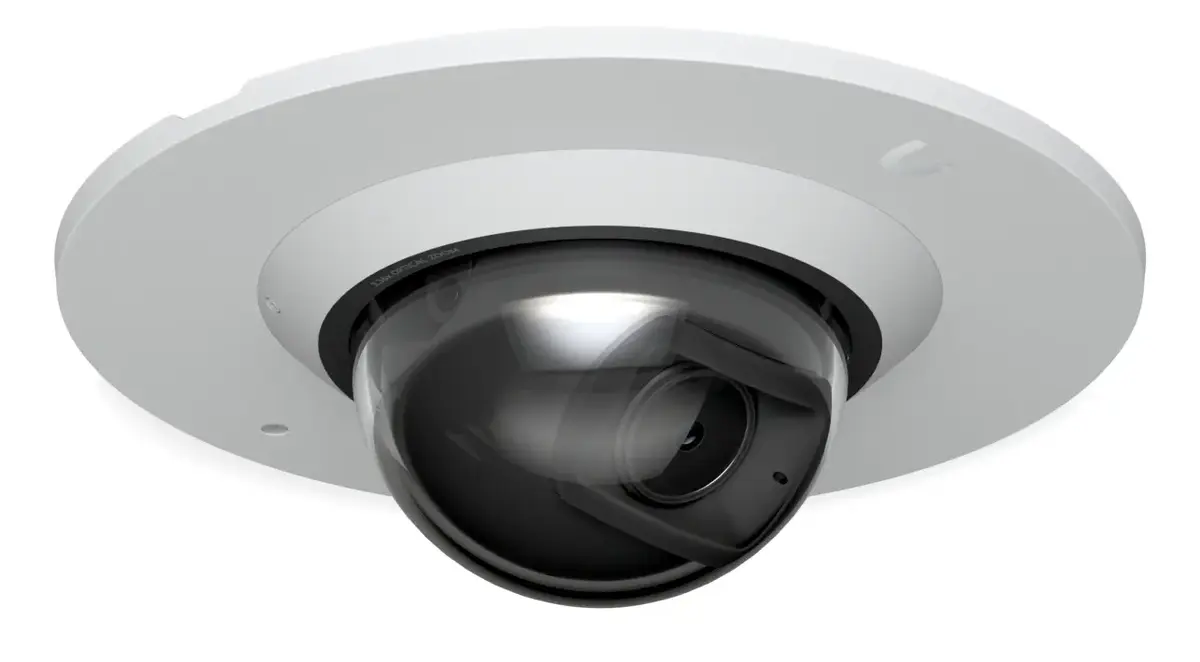
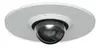
Ubiquiti UACC-G6-DOME-FM-W Flush Mount for G6 Dome Security Cameras
The Ubiquiti UACC-G6-DOME-FM-W Flush Mount is a professional-grade accessory engineered specifically for the seamless integration of G6 Dome security cameras. This mount enables a recessed installation, allowing the camera to sit flush against a ceiling or wall surface. By minimizing the profile of the surveillance hardware, it provides a clean, discreet, and aesthetically pleasing appearance that blends into any professional or residential environment while maintaining full camera functionality.
This flush mount offers a significant improvement in the visual impact of your security system by reducing the protrusion of the camera from the mounting surface. Its robust construction ensures that the camera remains securely positioned, preventing unwanted movement or vibrations that could affect image quality. The white finish is designed to match standard ceiling tiles and wall colors, ensuring that the installation remains unobtrusive. Furthermore, the design facilitates a straightforward installation process, making it an ideal choice for those who prioritize both security and interior design aesthetics.
This mount is specifically designed for G6 Dome cameras and may not be compatible with other camera models or brands. Additionally, it requires a recessed space behind the mounting surface, meaning it is not suitable for solid concrete walls or areas where cutting into the surface is not possible or desired.
To install the mount, first identify the desired location on your ceiling or wall, ensuring there is sufficient clearance behind the surface for the recessed housing. Use the provided template to mark and cut the required opening. Insert the flush mount into the opening and secure it firmly according to the installation instructions. Once the mount is stable, attach the G6 Dome camera to the housing, ensuring all cables are properly routed and connected to your network infrastructure. Verify the camera angle and tighten all fasteners to complete the installation.
For the best results, ensure the mounting surface is level and structurally sound before cutting. Always route network cables through the mount before securing the camera to avoid connectivity issues during the final assembly phase.
{{highlightedFeature.featureTitle}}:
{{getProductFeatureValueById(product, highlightedFeature.featureId)}}
{{ productComparisonGenerationError }}